OctoQuad
A localizer that uses the Digital Chicken Labs OctoQuad MK2 sensor.
Prerequisites
Ensure that two odometry pods are connected: one that is parallel to the length
of your chassis (forward) and another that is perpendicular to your chassis length (lateral).
Make sure your OctoQuad is configured to type OctoQuadFTC instead of OctoQuadFWv3.
Common Mistakes
- Make sure the OctoQuad is plugged into an I2C port other than port 0. This is because the Control Hub's built in IMU uses port 0.
Automatic Tuning
The OctoQuad AutoTuner can automatically determine your OctoQuadConfig, which includes pod ports, directions, offsets, resolution, etc.
Add the Tuner
Inside your Tuning class, add:
@Tuner
public static Procedure octoquadTuner() {
    return new OctoQuadTuner();
}
Build and send the updated code to your Robot.
Open AutoTune
While connected to the Robot Controller, open the following address in your browser: http://192.168.43.1:10158
Select OctoQuad Procedure.
OctoQuad Setup
First, enter the HardwareMap name of your OctoQuad.
For example, if your OctoQuad is named octoquad in your Configuration on your Driver Hub, enter:
octoquadin the HardwareMap Name field.
Then, enter the ports that your forward and strafe pods are plugged into on the OctoQuad.
Next, select the odometry pod type that matches the pods installed on your robot.
Finally, you may either use the default i2c recovery mode (recommended), or select a different i2c recovery mode if that is desired.
You may now press Submit.
Note
The Four Bar and Swing Arm pods are both goBILDA pods. If you are not using goBILDA pods, select the Custom option.
Heading Scalar Identification
Input the number of times you wish to turn the robot. More spins will likely make this scalar more accurate to your robot, but the default number is 10.
Start the test, and turn your robot exactly the number of times specified. Then stop the OpMode.
Tip
Line the robot up against reference lines on the field to ensure you aren't off by a couple degrees due to human error.
Custom Resolution Identification
If you are using a custom pod type, you will be prompted to run a test to determine the encoder resolution of your pods.
You should input the distance in inches that your want to push your robot forward in the test, the default is 48 inches.
Start the test, and then push the robot forward the distance you specified. After the robot has moved, stop the OpMode.
Forward Direction Identification
Press Continue, then push the robot straight forward.
After moving the robot forward, stop the OpMode.
The tuner will determine whether the x pod, which is the forward pod, should be set to FORWARD or REVERSED.
Strafe Direction Identification
Press Continue, then push the robot to the left.
After moving the robot to the left, stop the OpMode.
The tuner will determine whether the y pod, which is the strafe pod, should be set to FORWARD or REVERSED.
Important
During the Strafe Direction Identification step, push the robot to the left.
Offsets Identification
Press Continue, then rotate the robot in place 180 degrees counterclockwise.
After the robot has completed the rotation, stop the OpMode.
The tuner will automatically calculate the x and y pod offsets.
Applying the Results
Once the tuner is complete, open the Java tab.
AutoTune will generate an OctoQuadConfig using the values determined during the tuning procedure.
Copy the generated configuration into the OctoQuadConfig in your Constants.java file.
The generated configuration includes:
- HardwareMap name
- Pod ports
- Pod type
- Heading scalar
- i2c recovery mode
- Pod resolutions
- X pod direction
- Y pod direction
- X pod offset
- Y pod offset
Manual Offset Tuning
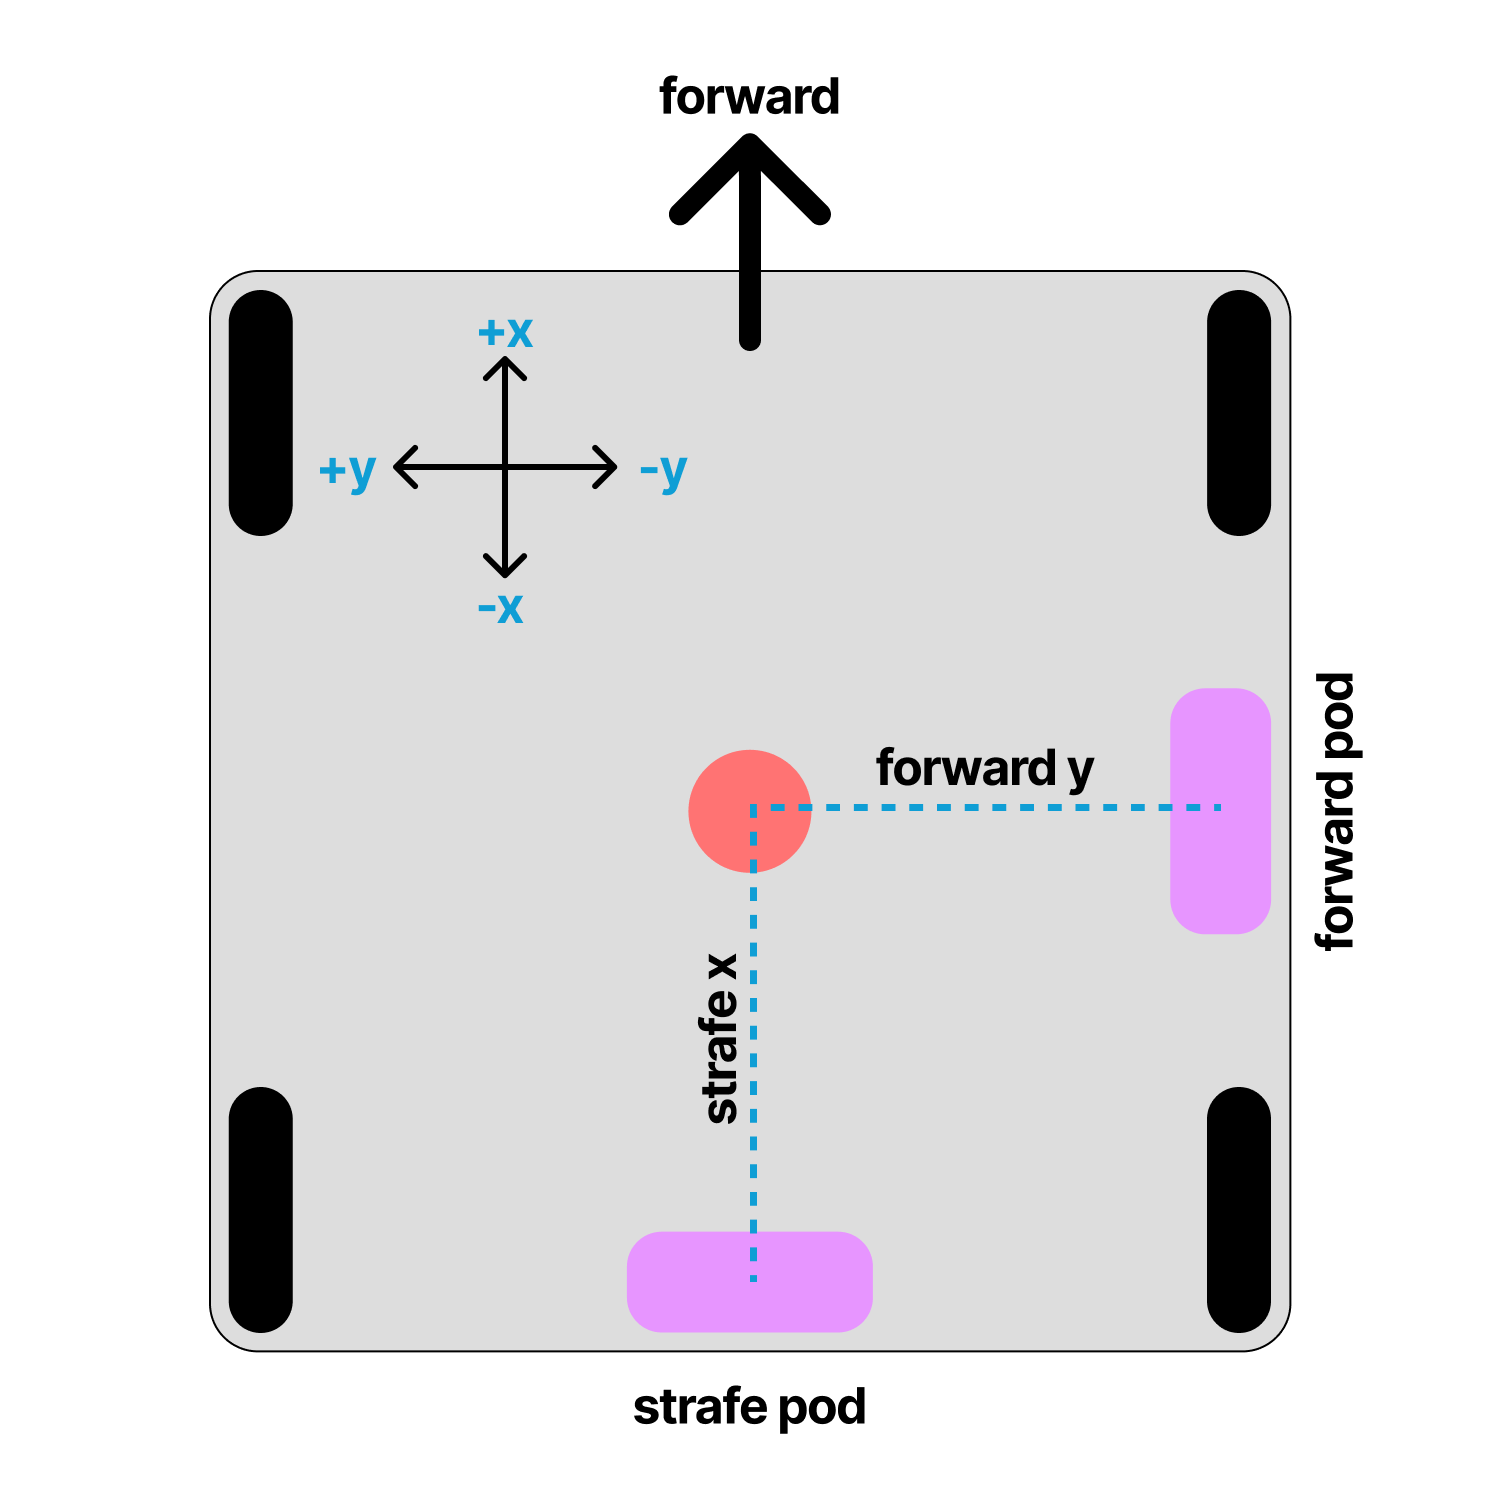
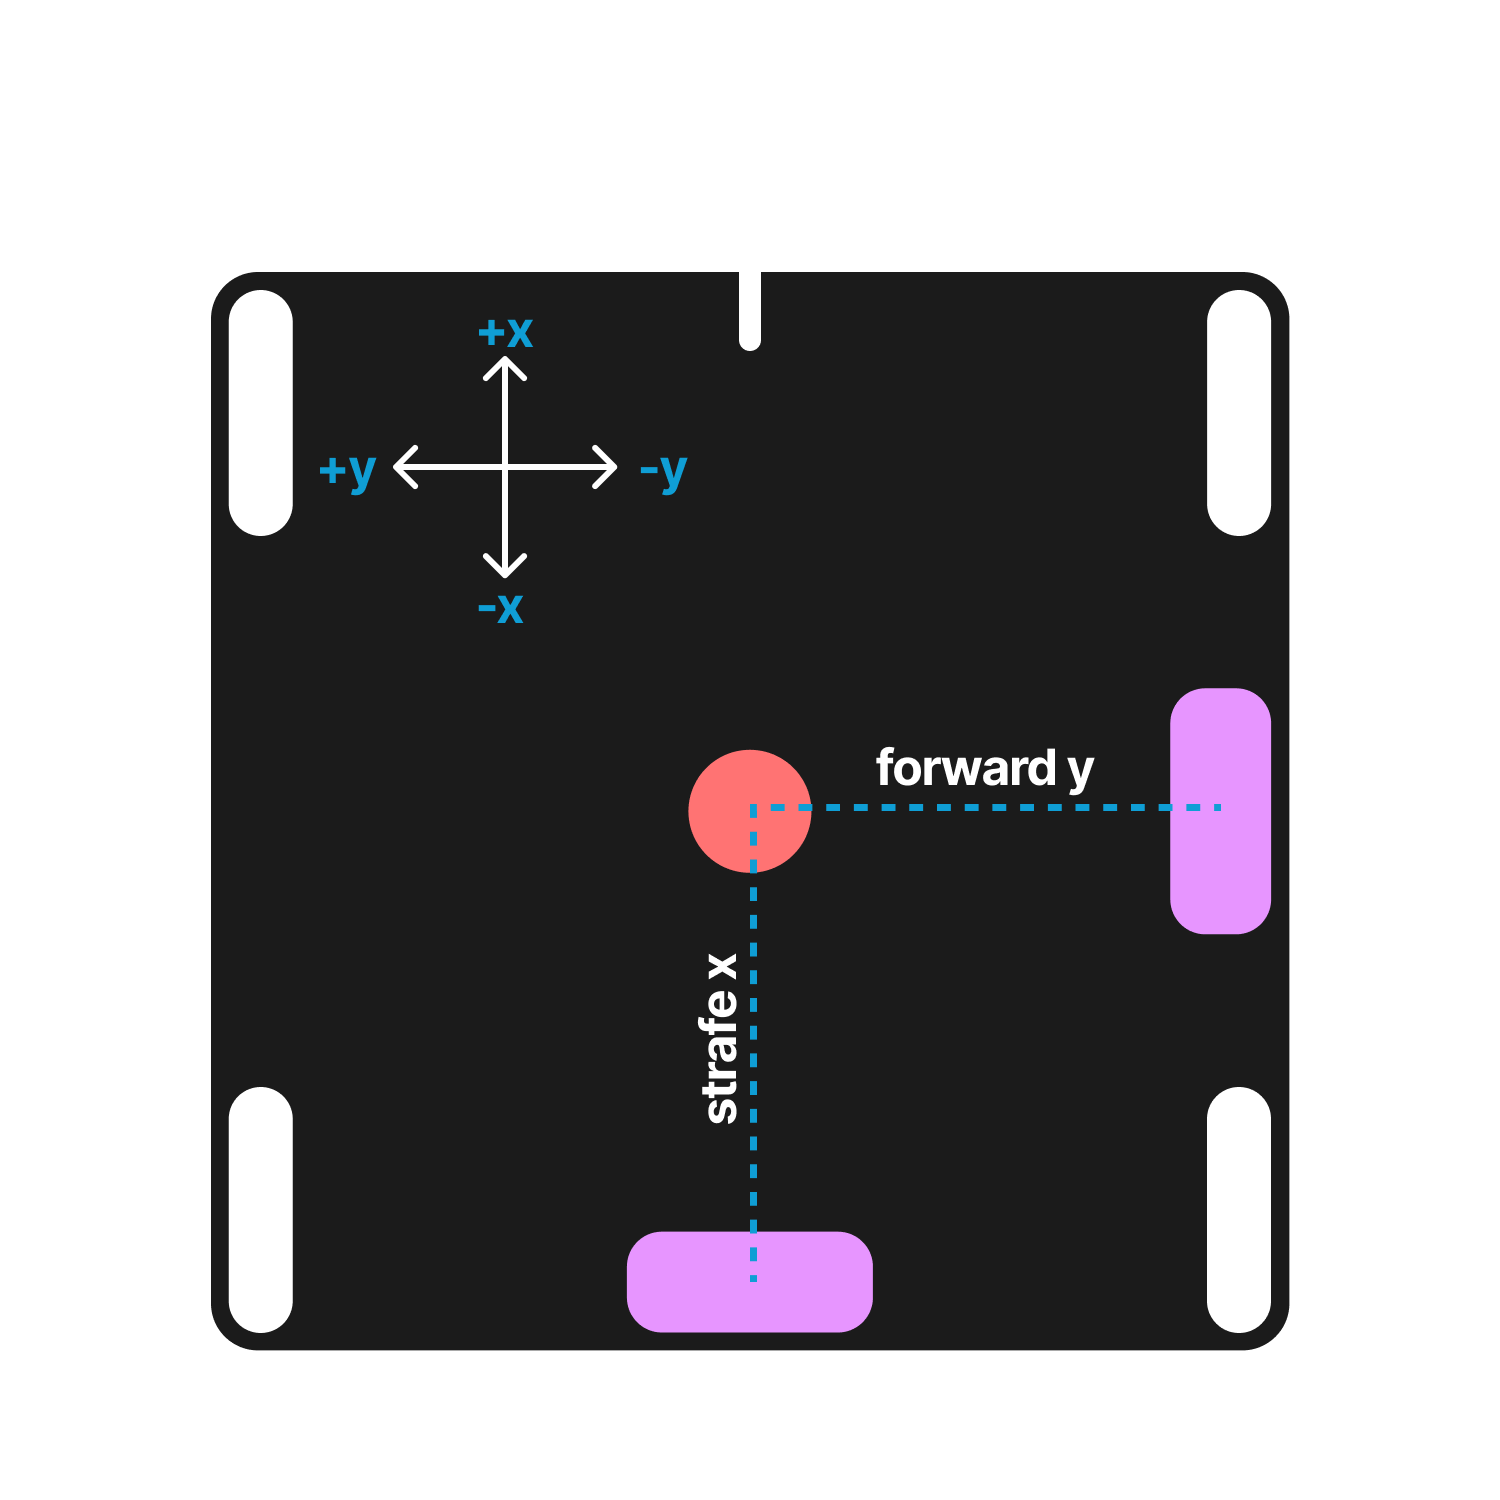
Offsets can also be found manually using the diagram below. Offsets are in inches.
Set your odometry pod offsets to define where they are relative to your robot's center of rotation.
Testing the Localizer
Once you have completed the tuning steps, you can test your localizer as described on the localization page.
Congratulations on successfully tuning your localizer!
Troubleshooting
If you have any problems, see the troubleshooting page.
Last updated on